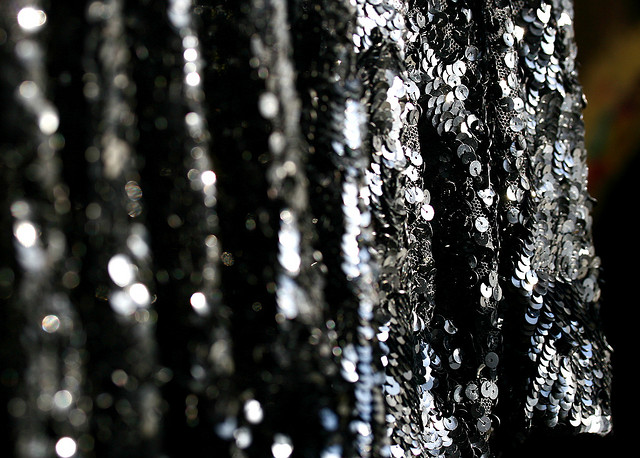
The 2014 Academy Awards are just four days away! But if this Awards Season has taken its toll on your sequin-adorned, rhinestone-studded, bejewelled and bedazzling party dresses, you’ll need a quick fix if you’re going to have them ready in time your Oscars party.
With a lot of embellished clothing, professional dry cleaning is the first port of call – just send it to LaundryRepublic, and our experienced team will take care of it for you!
But you could always try handwashing at home. Washing embellished clothing at home can seem daunting, particularly if your custom or designer clothing doesn’t come with detailed care labels.
Luckily, we at LaundryRepublic can walk you through how to wash your embellished dresses without losing all the beautiful detailing.
Firstly: make sure you know what you’re dealing with! Identify the material – some fabrics need to be dealt with a little differently. For example, if you’re dealing with a knit rather than woven fabric, make sure you don’t wring, stretch or hang-dry it – you’ll risk losing the shape. If you’re not sure about the material, check the label!
You’ll also want to check how the embellishments have been attached. Methods can include glue, sewing, rivets or pronged ring settings – often you can tell just by turning the garment inside out to see the stitching, settings or small glue dots that may not be visible on the outside of the garment. If the garment is lined, you can feel the reverse side through the lining with your fingers to determine what application method was used.
If glue has been used, be very careful not to use hot water for washing, as many adhesives can melt. With sewn embellishments, take particular care not to twist or wring the garment, as the tiny threads used to sew beads on could break, which could ruin the design!
The safest way to wash embellished dresses at home, even if they say they’re safe to machine wash, is by hand.
Wash the dress inside out in your kitchen sink, using warm water (remember, not too warm for knits!) and a small amount of mild liquid detergent. Another reason to avoid using hot water is that it can shrink your fabric or soften adhesives, and can ruin the finish on beads.

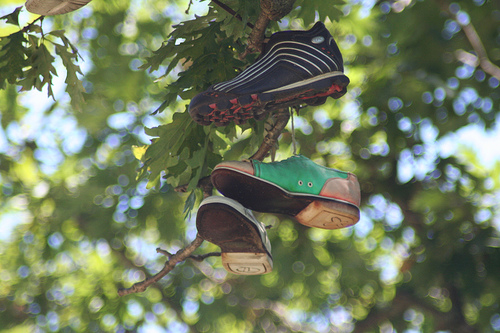
Rooting for a Brit flick win for 2014!
Don’t soak for more than a few minutes – again, you don’t want to damage the finish on your beads. Gently knead and swirl the garment in the soapy sink water to remove light soiling. For larger garments, you may want to use a bathtub to make rinsing easier!
When your dress is clean, drain the water and press down on the garment with your hands to press most of the water out. There will still be a lot of water in it, but you can cut down the drying time by popping the washed garment into an empty washing machine and use the gentle spin cycle to remove excess water. Don’t do this with velvet, though – it can cause permanent creases in the pile.
Woven fabrics that won’t stretch can then by dried by hanging, somewhere dry or outdoors, away from direct sunlight. For knits and other stretchy materials, lay them out on a flat clean surface, out of direct sun.
If your dress feels a bit stiff after air drying, just put it in a pillowcase and fluff it quickly in the dryer – but make sure you use a low heat, and no more than 5 minutes!
Be very careful when ironing your embellished clothing, and make sure the iron never comes into direct contact with any of your sequins or beads. Professionals use a press cloth to iron embellished clothing, but at home you can just cut a square out of an old t-shirt, and put this between the iron and the clothing. Make sure to select an appropriate heat setting – not too hot for fine silk and polyester. Don’t let the fabric get too hot, or embellishments could soften or crack, and adhesives could melt. If your embellishments are attached with glue, give the garment a couple of minutes to cool after ironing before you move it.

“Thanks to LR’s top tips, our pearls have never been pearlier!”
Now you’re ready to party!
Flickr Photo credits:
nikoretro, Liz West, Kent Capture, EbbAndFlow